Tired of the chaos? Meet the all-in-one Acrylic Monthly Planner that does it all... and then some! Mounts to your wall or fridge with no holes, no damage and an easy-wipe surface for stress-free planning!
The long-term solution for your busy family or household. Just fill in all your plans, update as you wish, then wipe clean and start the new month fresh - the perfect month to month planner!
Each Monthly Planner includes strong magnets, ready to pop straight onto your fridge for an instant magnetic monthly calendar. "But I want a monthly wall planner." We hear you! Our planner does both! Just add the Removable Wall Mount Kit, no nails, no-damaged walls! Your magnetic planner now attaches to the fridge AND the wall!
Features and Sizing: • Made from durable, high-quality acrylic • Includes strong magnets on the back • Easily wipes clean with a damp cloth • Available sizes vary by products; Large: 43x30cm (17"×12") - approx. A3 Medium: 30x21cm (12"x8") - approx. A4 Small: 21x15cm (8"x6") - approx. A5
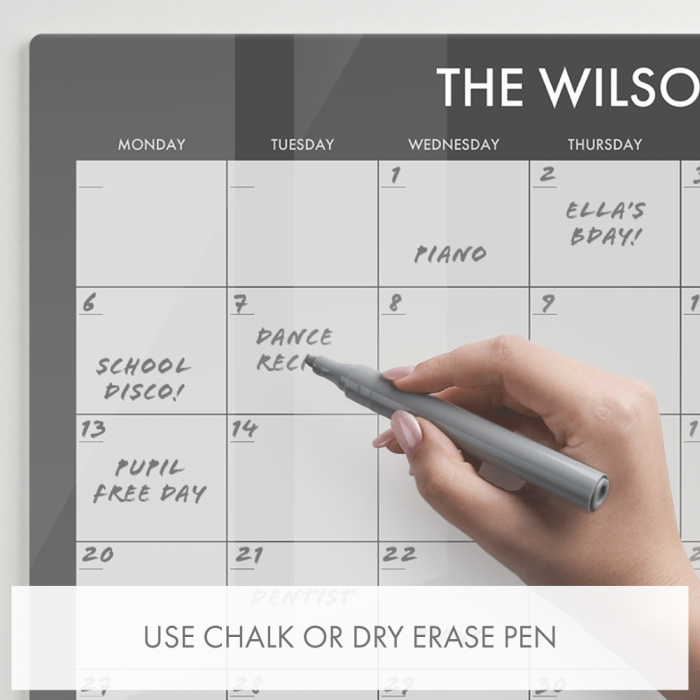
Use and Care Instructions: • Chalk markers are best used with your Acrylic Board • Use light markers on dark designs • Use dark markers on light designs • Use a damp cloth to gently wipe the surface clean • Don't use rough cloth materials or abrasive cleaners
Note: Currently we don't sell chalk markers.
Removable Wall Mount Kit Instructions: Your kit includes Sticky Wall Pads, pre-attached to the magnets on the back of your Acrylic Board. Follow these steps for correct installation.
1. Prepare the Wall. Sticky Wall Pads will stick to most clean flat surfaces and even some textured surfaces. Ensure your surface is clean, dry, and flat. If freshly painted, wait a few weeks before applying. 2. Position your Board. Peel off the protective film from each Sticky Wall Pad. Align the Pads with the magnets on the back of your Board. Place your Board in the desired position (use a spirit level if needed) and press on to the wall. 3. Secure the Pads. Place your Board aside, leaving the Sticky Wall Pads on the wall. Press each Pad firmly for 20 seconds to ensure a strong hold. 4. Ready to Use. Your Board can now be used on both the wall and fridge. 5. Removing the Pads. To remove, lift slowly from the bottom edge. Do not pull off quickly - this may damage the wall. Note that while the Removable Wall Mount Kit is removable it is not intended to be repositioned in another location.
NDIS Purchases Welcome
Our range of Acrylic Planners are designed to make organising easier — supporting independence, daily routines and goal-setting. These products may align with the NDIS funding category Communication and Information Equipment, depending on your individual plan. We welcome orders from NDIS participants who are self-managed or plan-managed.
When you place your order, you’ll automatically receive a detailed tax invoice that may be submitted for reimbursement or payment through your plan manager. Before placing an order, it is your responsibility to check if the products are allowed under the participants plan. Please chat to your support coordinator or plan manager if you're unsure. We are not a registered NDIS provider, so NDIA-managed participants cannot purchase directly.
Use and Care Instructions: • Chalk markers are best used with your Acrylic Board • Use light markers on dark designs • Use dark markers on light designs • Use a damp cloth to gently wipe the surface clean • Don't use rough cloth materials or abrasive cleaners
Note: Currently we don't sell chalk markers.
Removable Wall Mount Kit Instructions: Your kit includes Sticky Wall Pads, pre-attached to the magnets on the back of your Acrylic Board. Follow these steps for correct installation.
1. Prepare the Wall. Sticky Wall Pads will stick to most clean flat surfaces and even some textured surfaces. Ensure your surface is clean, dry, and flat. If freshly painted, wait a few weeks before applying. 2. Position your Board. Peel off the protective film from each Sticky Wall Pad. Align the Pads with the magnets on the back of your Board. Place your Board in the desired position (use a spirit level if needed) and press on to the wall. 3. Secure the Pads. Place your Board aside, leaving the Sticky Wall Pads on the wall. Press each Pad firmly for 20 seconds to ensure a strong hold. 4. Ready to Use. Your Board can now be used on both the wall and fridge. 5. Removing the Pads. To remove, lift slowly from the bottom edge. Do not pull off quickly - this may damage the wall. Note that while the Removable Wall Mount Kit is removable it is not intended to be repositioned in another location.
Login and Registration Form